Analytical Ferrography
The Analytical Ferrography test isolates wear debris and solid particulates for examination under a microscope
Analytical Ferrography is among the most powerful diagnostic tools in oil analysis today. When implemented correctly it is an excellent tool when attempting to diagnose an active wear problem. Analytical Ferrography allows an oil analyst to visually examine wear particles present in a sample. This test separates solid contamination and wear debris from a lubricant for microscopic evaluation. Analytical Ferrography can identify wear particles, their composition, and their origin by visually analyzing them microscopically.
This test is qualitative, which means it relies on the skill and knowledge of the ferrographic analyst. While this can have definite advantages, the interpretation is somewhat subjective and requires detailed knowledge of wear debris failure modes. The test procedure is also lengthy and requires the skill of a trained ferrographic analyst.
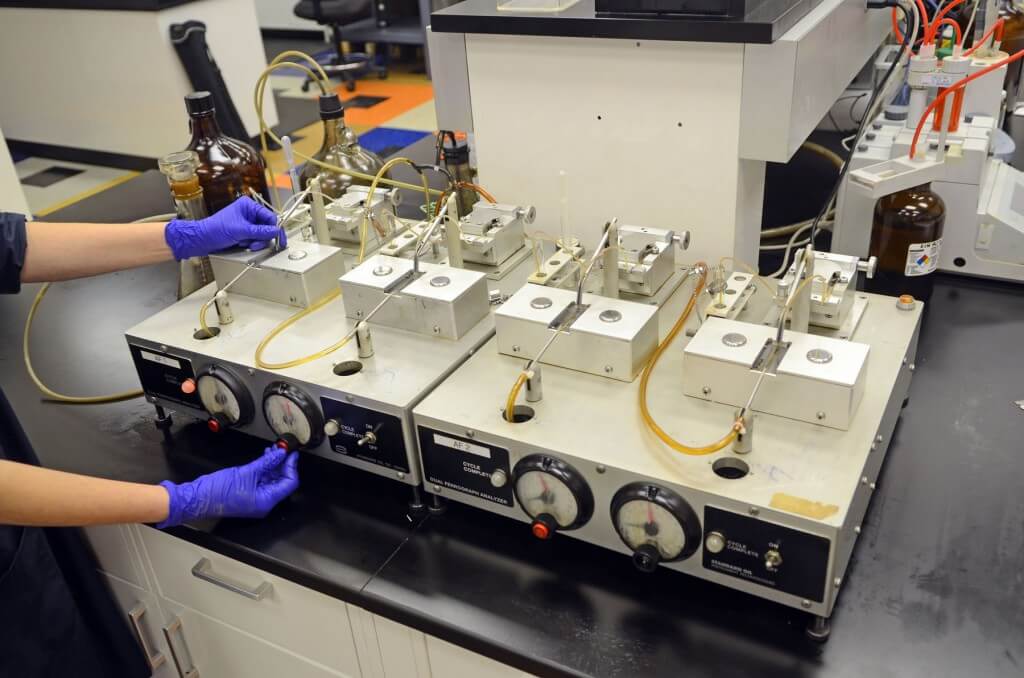
Operating Principle A portion of the sample is passed over a slide on top of a magnetic plate to attract ferrous particles. The prepared slide is then placed under a microscope for examination. The particles are then classified into different size ranges and shapes. As a result of this classification, determination of an abnormal wear mode can be made.
Significance This test provides a snapshot into the machine to determine the type and size of the ferrous wear that is coming from a particular piece of equipment. This will allow for a more accurate plan of attack to correct a possible problem or to judge machine health.
Applications Any machine containing significant amounts of ferrous wear debris.
Facts About Analytical Ferrography
– Analytical Ferrography is the best method for determining severity and type of wear present.
– There are no particle size or metallurgy limitations.
– Wear can be documented by digital photography.
– The test procedure is lengthy and requires the skill of a trained analyst.
– The test is a qualitative test, which means the interpretation is somewhat subjective and relies on the skill and knowledge of the ferrographic analyst.

